Add users and give them roles
Give each member of staff their own login, put them in the right branch and give them a role that opens only the screens they need.
Give every person who uses EloERP their own login. A user is one person's login; a role decides what that person can open and do. Every document then records who made it.
Before you begin
- Your branches and warehouses exist. See Add branches and warehouses.
- Each user needs their own email address, not used by any other login.
- How many users you can add depends on your plan.
Where to find it
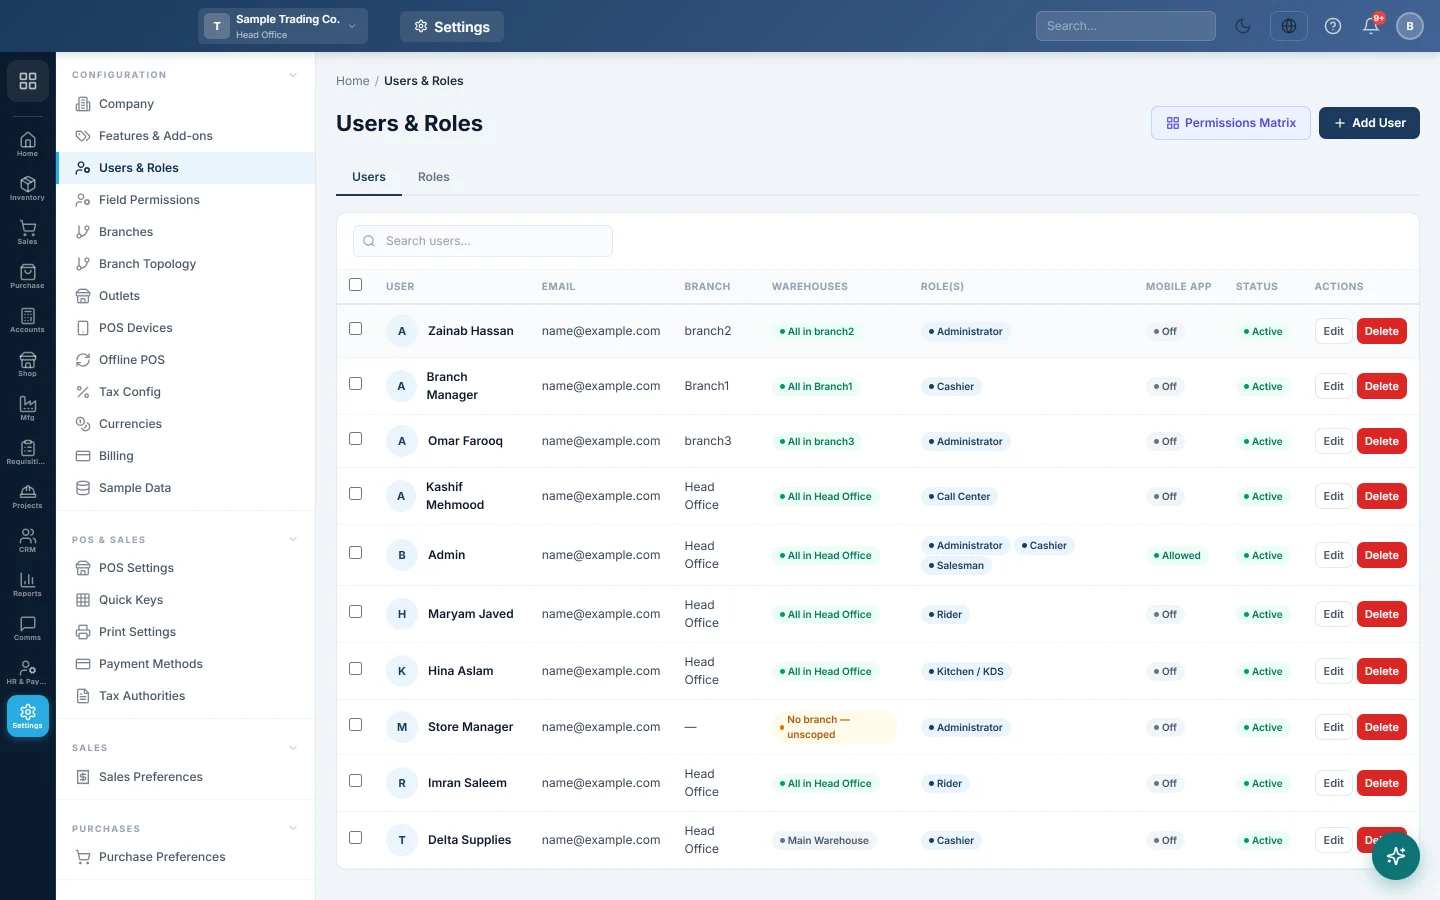
Open Settings → Configuration → Users & Roles. It has a Users tab and a Roles tab.
Pick or make a role
Your company starts with built-in roles, among them Administrator (everything), Manager (sales, purchases and reports) and Cashier (sales invoices and payments). Use them as they are, or add your own:
- Click the Roles tab, then Add Role.
- Type the Role Name, for example Store Keeper, and a Description.
- Click Save Role. Role Permissions opens on the new role.
- Tick what the role may open, menu by menu, or start from a QUICK PRESETS button such as 👁 View Only or 💳 Cashier.
- Click Save Permissions.
A new role starts with no permissions, so do not skip step 4. You can reach the same screen at any time with Permissions Matrix at the top of Users & Roles.
Add a user
- Click the Users tab, then Add User.
- Under Account, type the Full Name, Email and Password (at least 8 characters).
- Choose the user's Branch. Under Also works in, tick any other branches they may switch into.
- Under Roles, tick one or more roles.
- For a cashier, under POS & Cash Register, tick Enable Cash Register so they open a shift when they sign in.
- Click Save User.
Give the person the workspace address, their email and password, and ask them to change the password under Profile. See Sign in, change your password and language.
Limit what a user can touch
These are optional. Leave them empty for full access within the user's role.
| Option | What it limits |
|---|---|
| Assigned Warehouses | The warehouses the user may work with in their branch. |
| Allowed Payment Methods | The payment methods shown to them on invoices, returns, the POS and vouchers. |
| Default Payment Method | The method picked for them when they open the register on the POS. |
| Assigned Customers | The only customers they may sell to or collect from. |
| Product Access | All products, only chosen products, or by category and brand. |
For every option on the user and role forms, see Users & Roles.
Reset a password or stop a login
- Click Edit on the user.
- To reset the password, type a new Password. Leave it blank to keep the current one.
- To stop the login, set Status to Inactive.
- Click Save User.
Common questions
The new user cannot see a module. Their role does not include it. Open Permissions Matrix, choose the role and tick that module's screens.
It says the user limit is reached. Your plan allows a set number of users. Ask your service provider to upgrade it.
The form says the email is already taken. That email already has a login, maybe in another company. Use a different email.
Can a user work in two branches? Yes. Tick the second branch under Also works in. They switch branch from the top bar.
Thank you. If you still need help, write to info@eloerp.net.