Users & Roles
Add the people who sign in, give them roles, branches, warehouses, payment methods and customers, and decide what each role may do.
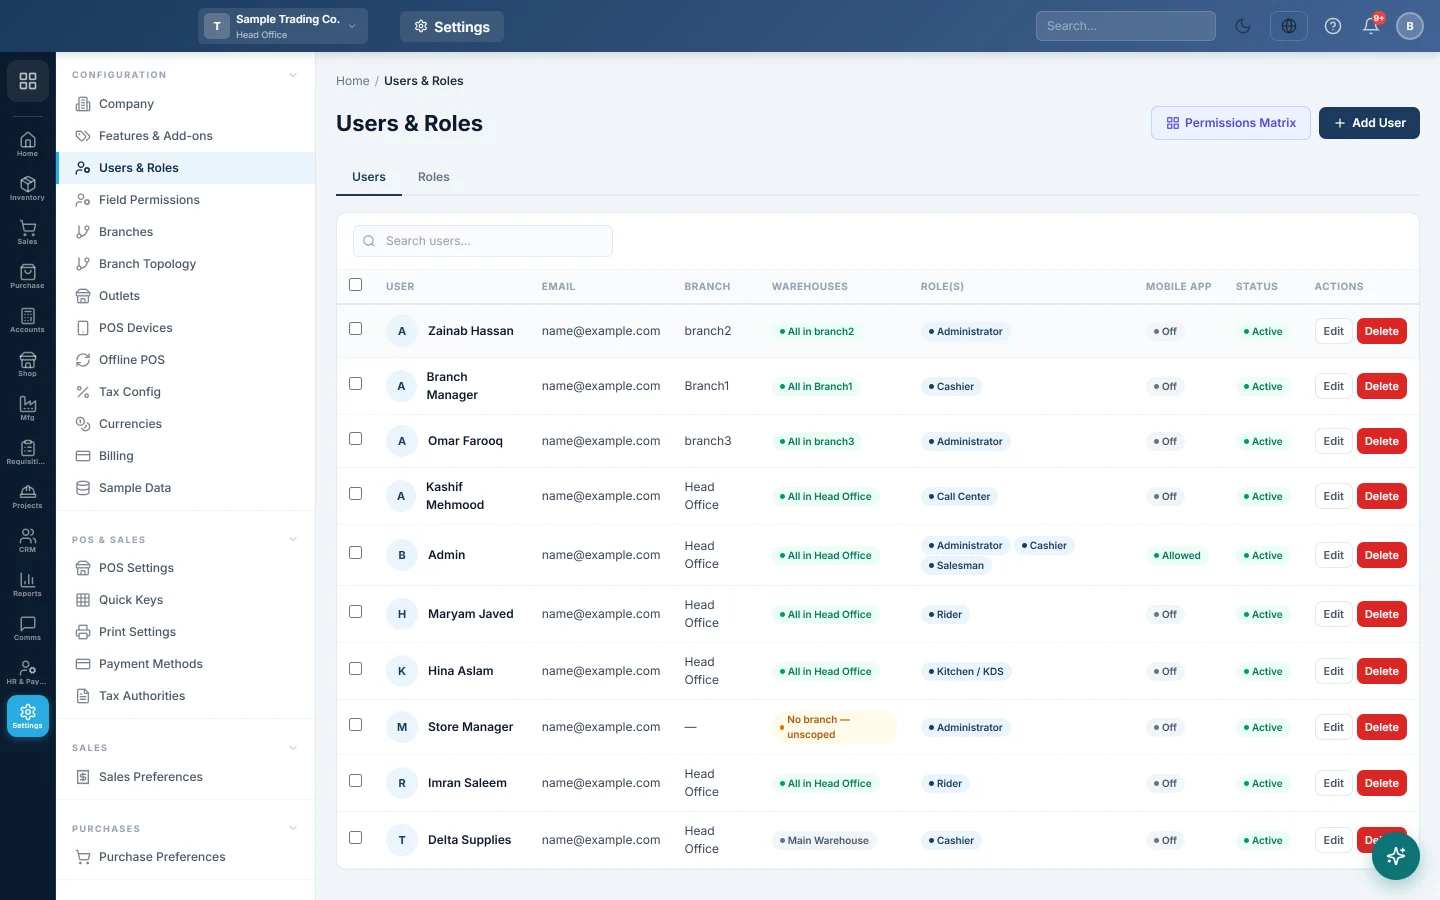
Users & Roles is where you add the people who sign in and decide what they can do. A user is one person with an email and password. A role is a set of permissions, such as Cashier or Manager, that you give to users.
Before you begin
- You need a role that can view and edit Users & Roles.
- Add your branches, warehouses and payment methods first, so you can assign them. See Branches and Payment Methods.
- Your plan sets how many users you can add. When the limit is reached, ask your service provider to upgrade.
Where to find it
Open Settings → Configuration → Users & Roles. It has two tabs, Users and Roles.
Create a role
Create roles before users, so each user can get one straight away.
- Open the Roles tab and click Add Role.
- Type the Role Name, for example Cashier, and a Description.
- Under System Role Types, tick a type if people in this role must appear in a picker. For example, Salesman users appear in the Salesman list on sale invoices. The other types are Delivery Boy, Marketing Agent, Waiter and Recovery Boy.
- Optionally limit the ledgers this role may use (see below).
- Click Save Role. Role Permissions opens on the new role.
- Tick what the role may do, menu by menu, and click Save Permissions.
Choose what a role may do
The Role Permissions page (the Permissions Matrix button) shows one role at a time.
- Under SELECT ROLE TO EDIT, choose the role.
- Pick a view: By menu shows each module's side menu screen by screen; By permission group lists every permission by group.
- Tick a whole menu with Grant everything in this menu, or tick single screens.
- Use QUICK PRESETS to start fast: View Only, Cashier, Full Access or Clear All.
- Set the Max Discount % this role may give. Leave it empty for no limit.
- Click Save Permissions.
Limit the ledgers a role can use
In the role form:
- Ledger Access — Allowed Account Groups: tick the account groups this role may pick in vouchers and see in the General Ledger. A group includes its sub-groups.
- Ledger Access — Specific Ledgers: add single ledgers on top of the groups.
Leave both empty for full ledger access. Click Clear (full access) to remove a limit.
Add a user
- Open the Users tab and click Add User.
- Under Account, type the Full Name, Email and Password (at least 8 characters).
- Choose the user's Branch. Only the head office can create users for other branches.
- Tick other branches under Also works in if the user switches between branches.
- Choose a Linked Employee if the user is also on staff.
- Under Roles, tick one or more roles.
- Fill in POS & Cash Register and Access & Assignments (below) if needed.
- Click Save User.
The user signs in with the email and password. To change a password later, edit the user and type a new one; leave it blank to keep the current one.
Set up a cashier
Under POS & Cash Register:
| Option | What it does |
|---|---|
| Enable Cash Register | The user is asked to open a cash register when they sign in. |
| Allow Offline POS Login | Only users with this ticked can sign in on the offline till, and only they appear on its login screen. |
| Allow mobile app login | Only users with this ticked can sign in to the mobile app. Untick it while someone is on leave; a phone signed in as them locks at its next sync. |
| Default Payment Method | The method pre-selected on the POS when the register opens. |
| Assigned Warehouses | The warehouses the user may work in. Leave empty for all warehouses in the branch. |
| Allowed Payment Methods | The methods the user sees on sale invoices, sale returns, the POS and payment and receipt vouchers. Leave empty for all. |
Limit customers and products
Under Access & Assignments:
- Assigned Customers: the user may sell to and collect from only these customers. Empty means all customers.
- Product Access: choose All products, Only specific products or By category / brand, then pick the products, Categories or Brands.
Switch the mobile app on or off for many users
- In the Users tab, tick the users.
- Click Allow mobile app or Switch off mobile app.
Common questions
The user limit is reached. Your plan allows a set number of users. Set people who left to Inactive or delete them, or ask your service provider to upgrade.
I cannot delete a role. A role with users cannot be deleted. Move its users to another role first.
A user cannot see a menu. Their roles do not grant it. Open Permissions Matrix, choose the role and tick the screen.
Why link a user to an employee? The link is needed to post a cashier's Z-report cash shortage to their account, and for payroll and salary advances.
A user cannot sign in on the offline till. Edit the user and tick Allow Offline POS Login, then let the till sync.
Can I stop a user from changing a field, such as the sale price? Yes, with Field Permissions.
Terima kasih. Jika masih butuh bantuan, kirim email ke info@eloerp.net.